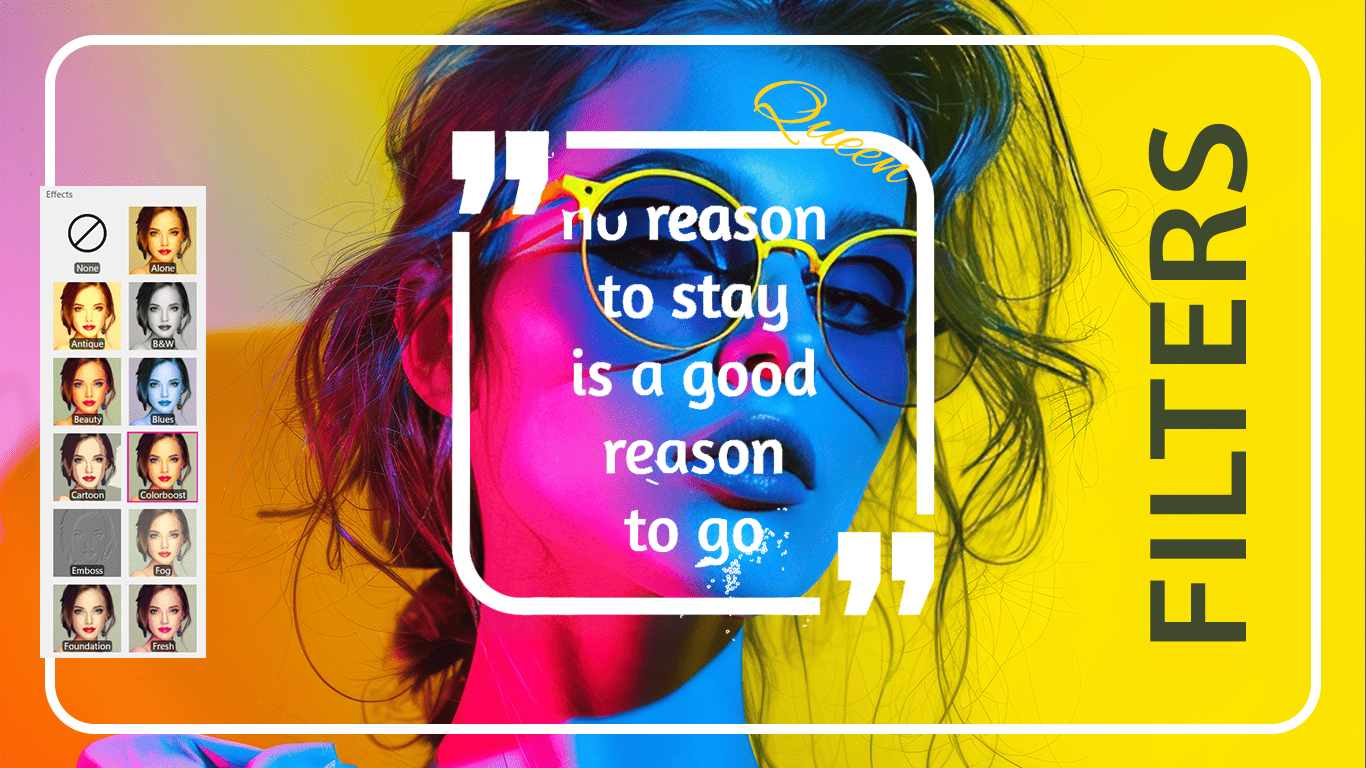
In the world of regular Instagram and Facebook posts, the need for a quick and effective photo editor is undeniable. Introducing the new Face Camera Snappy Photo, a feature that allows you to capture stunning on-the-spot selfies with 24+ customized filters, eliminating the hassle of searching for pre-saved pictures.
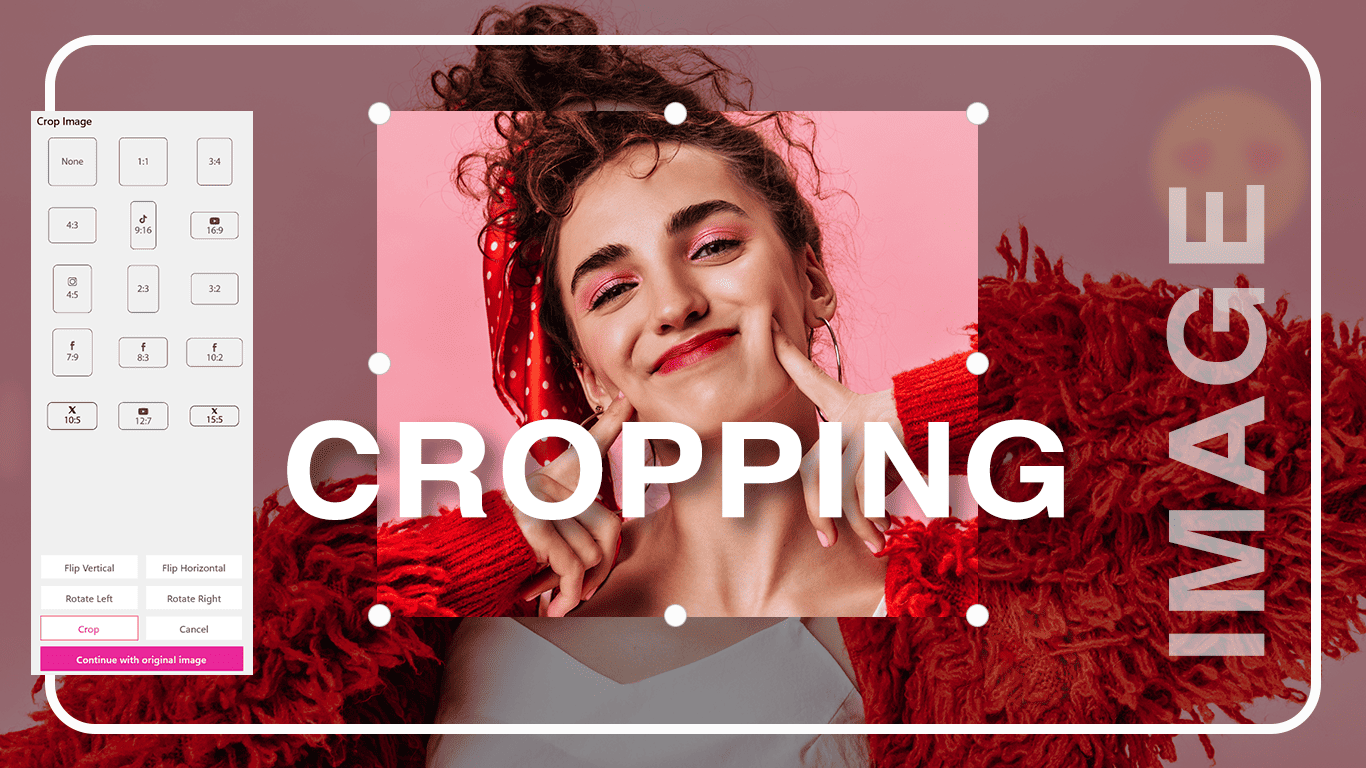
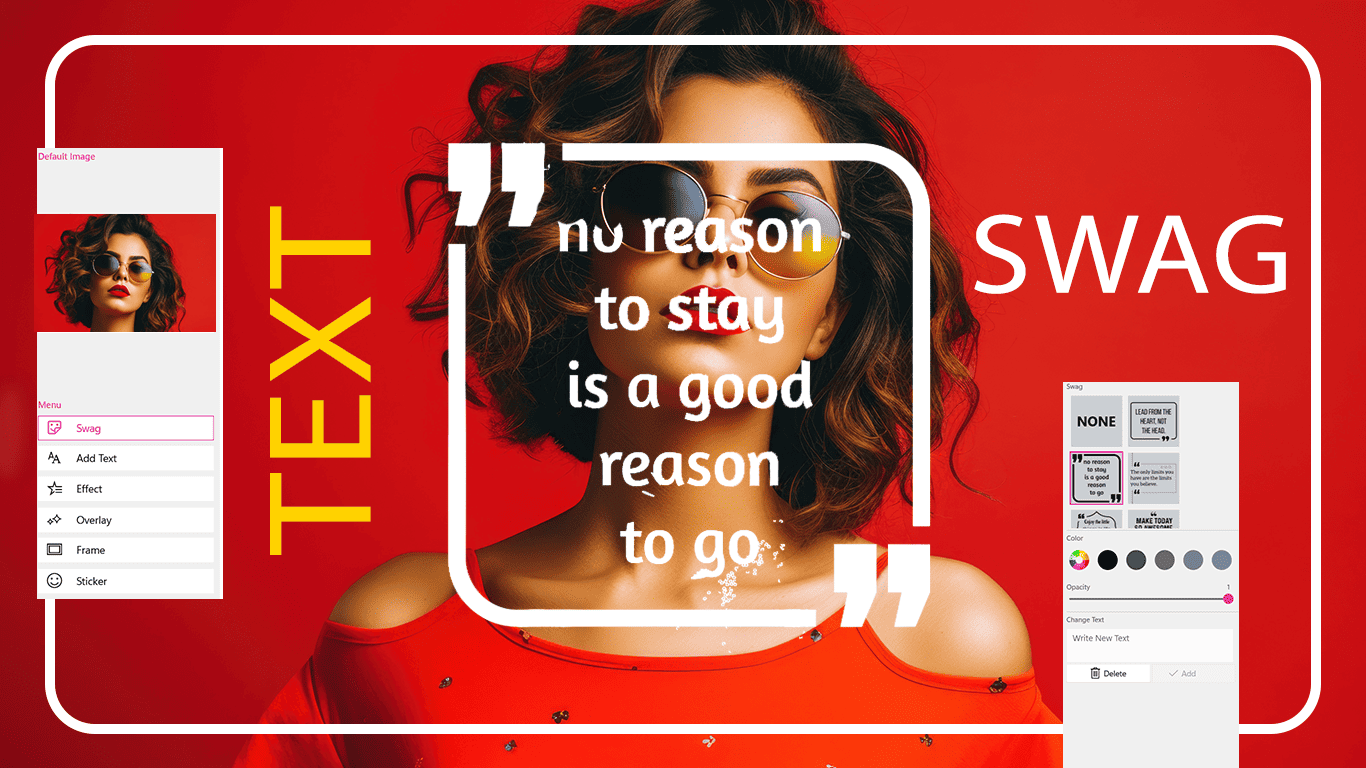
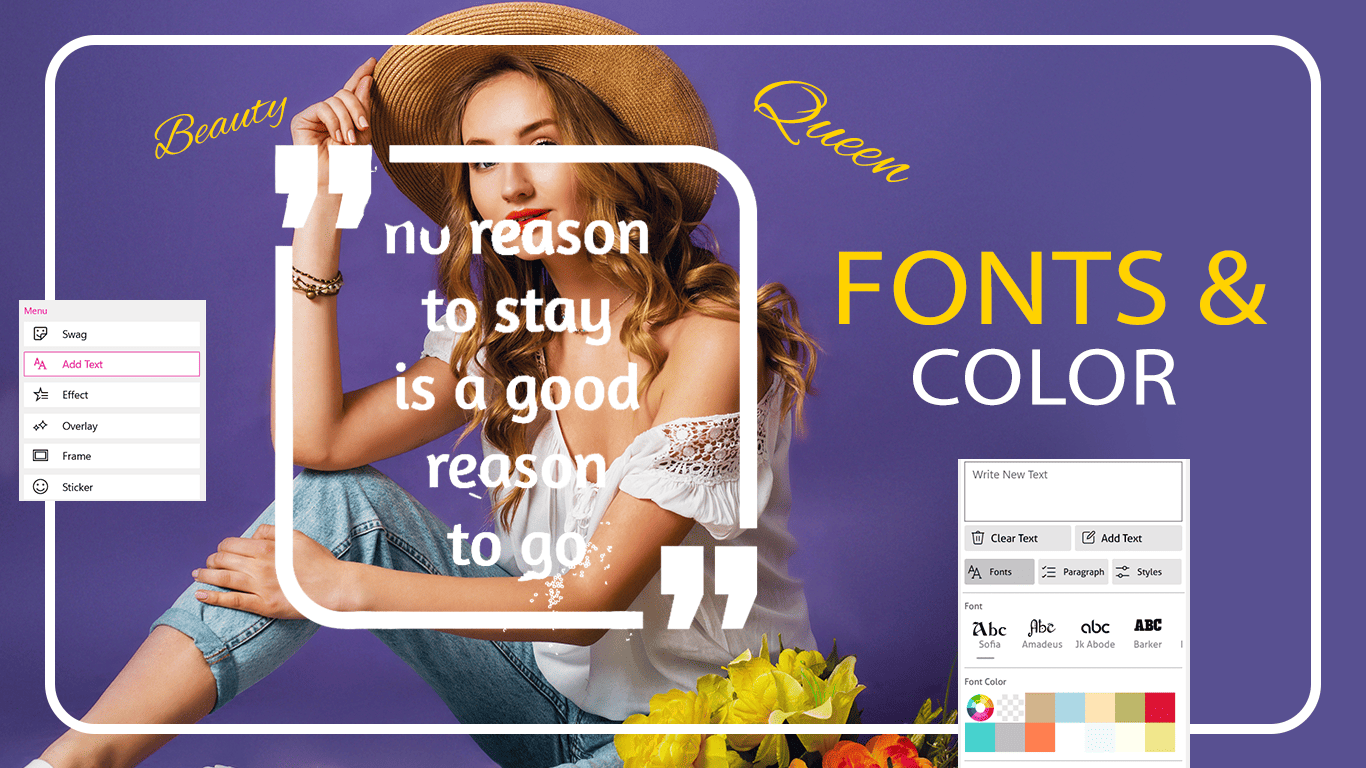
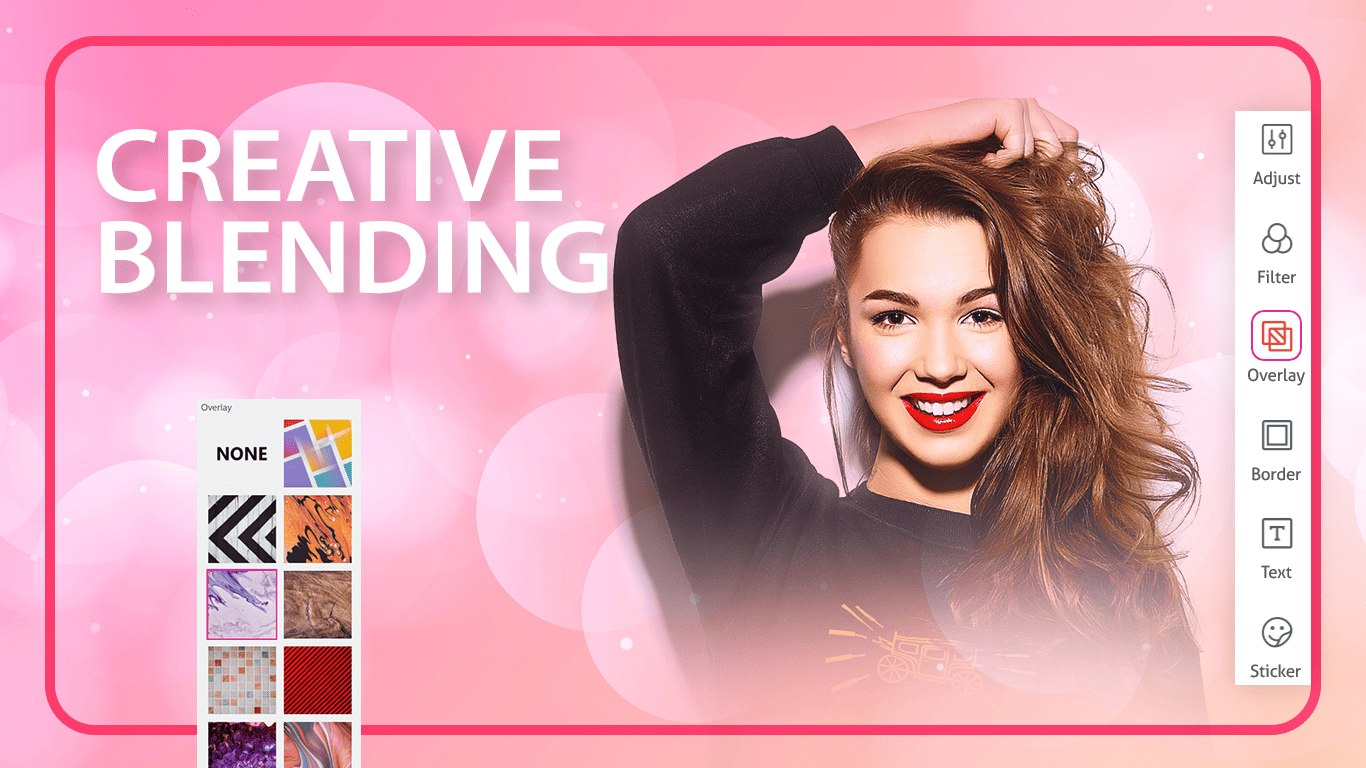
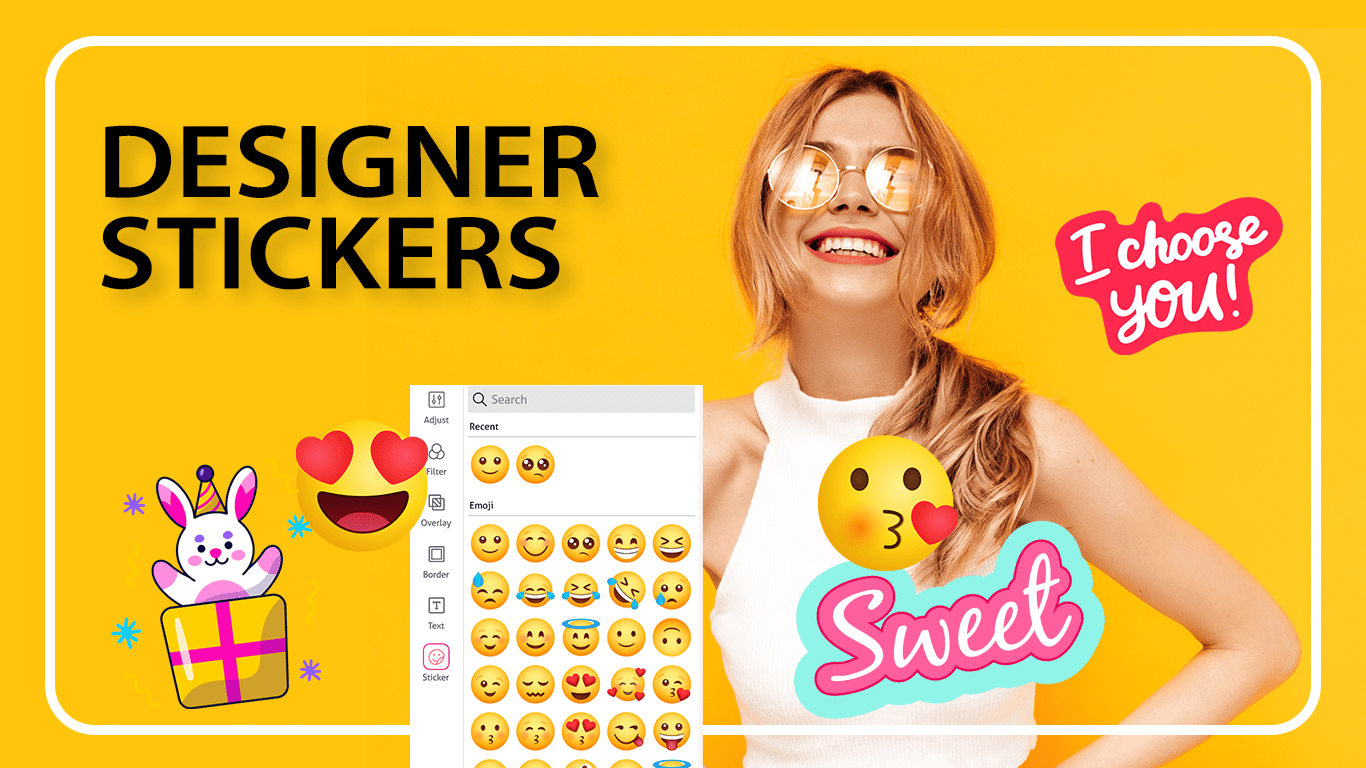
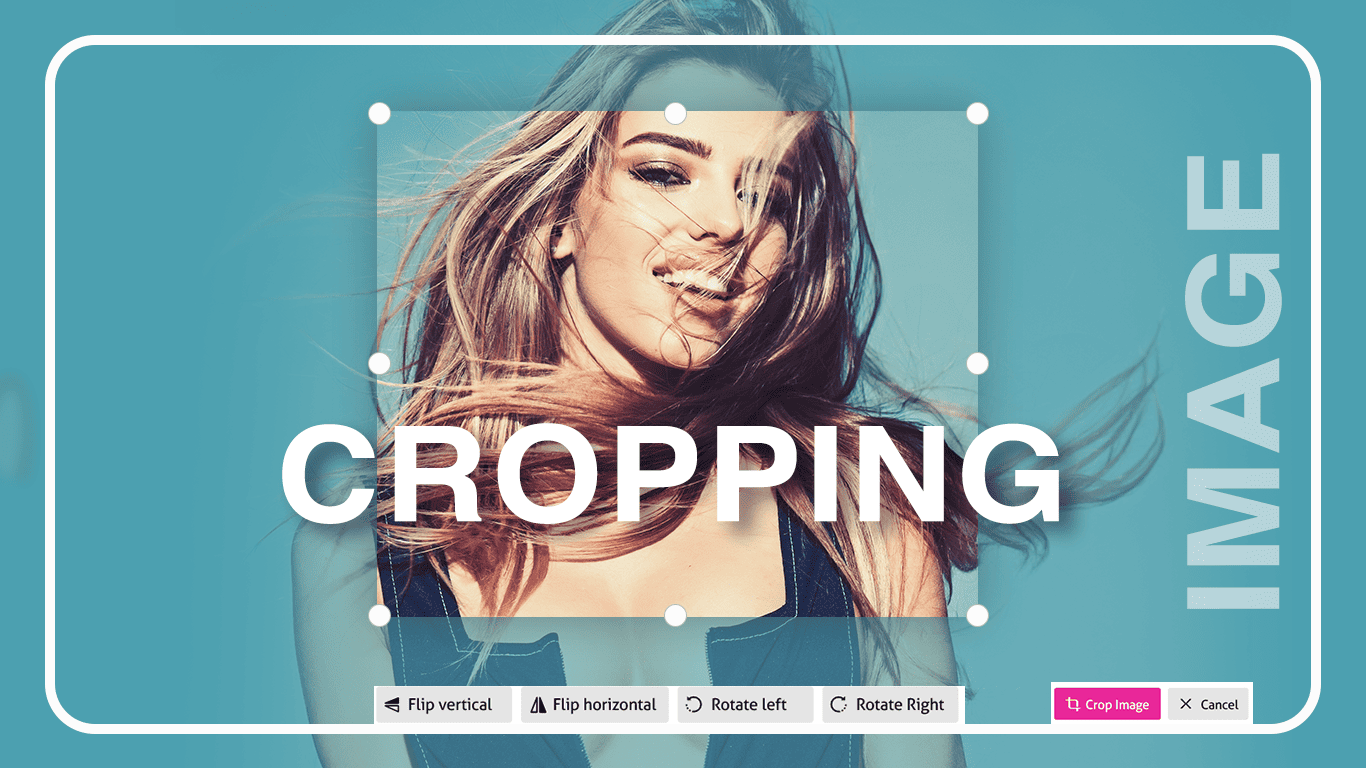
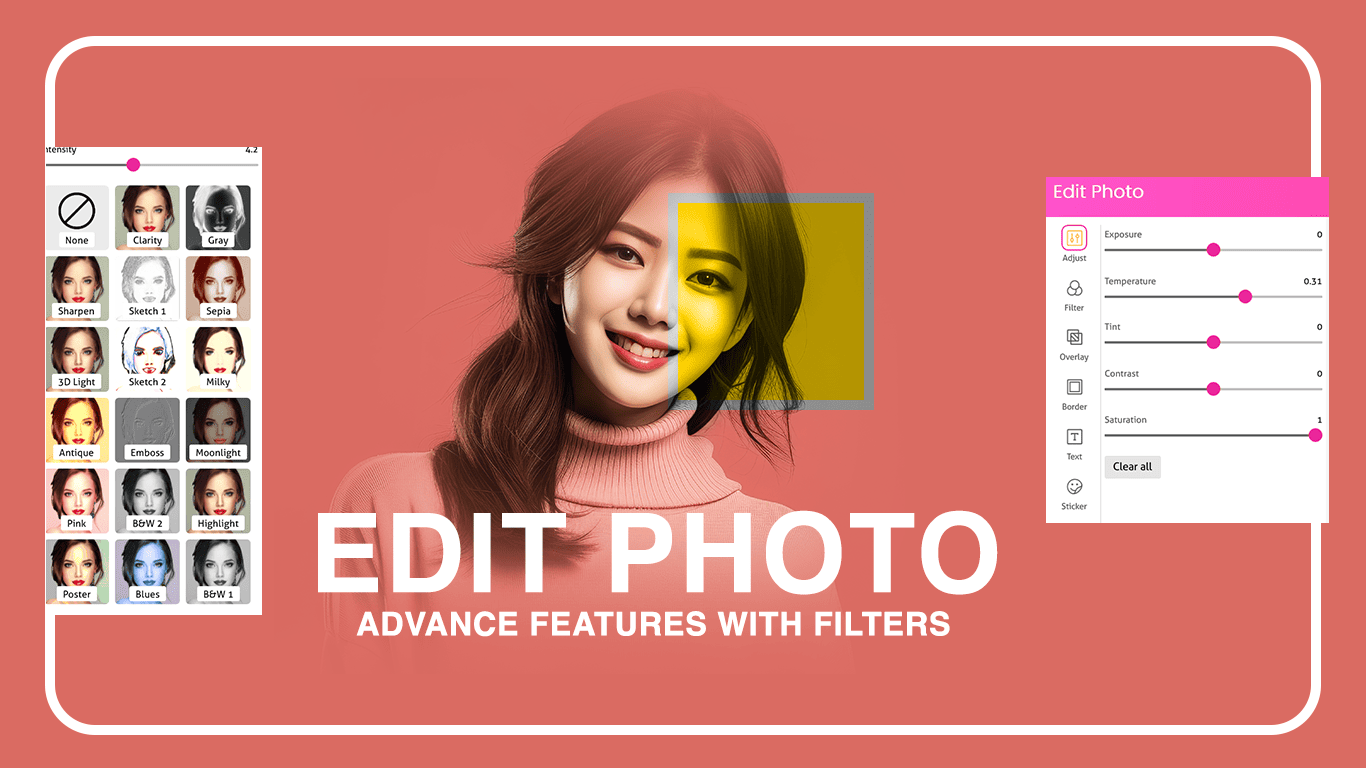
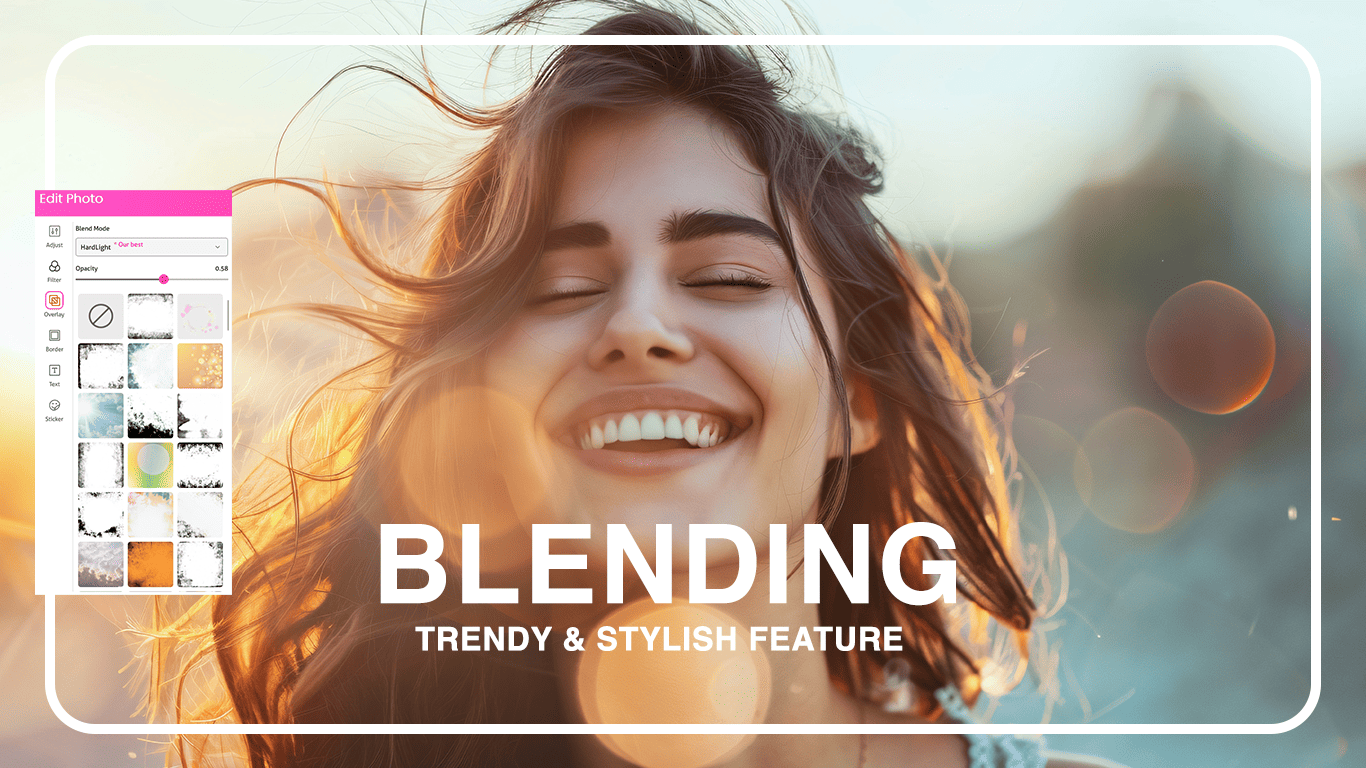
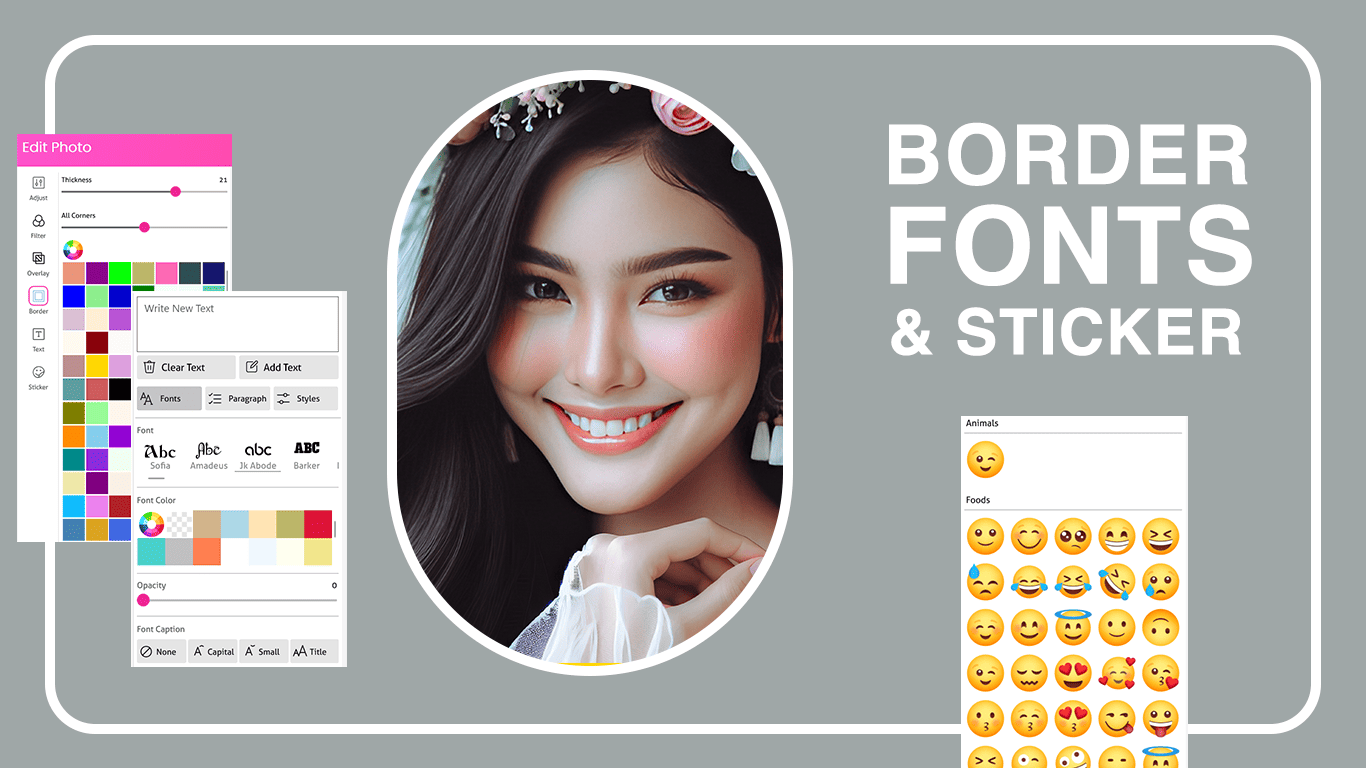
Whether you opt to snap a photo with the selfie camera and instantly apply unique effects with a single tap or choose an image from your gallery, our app offers ultimate photo editing options. Flip, rotate, apply filters, add text, emojis, funny face masks, catchy taglines – the possibilities are endless for making your images unique and classy.
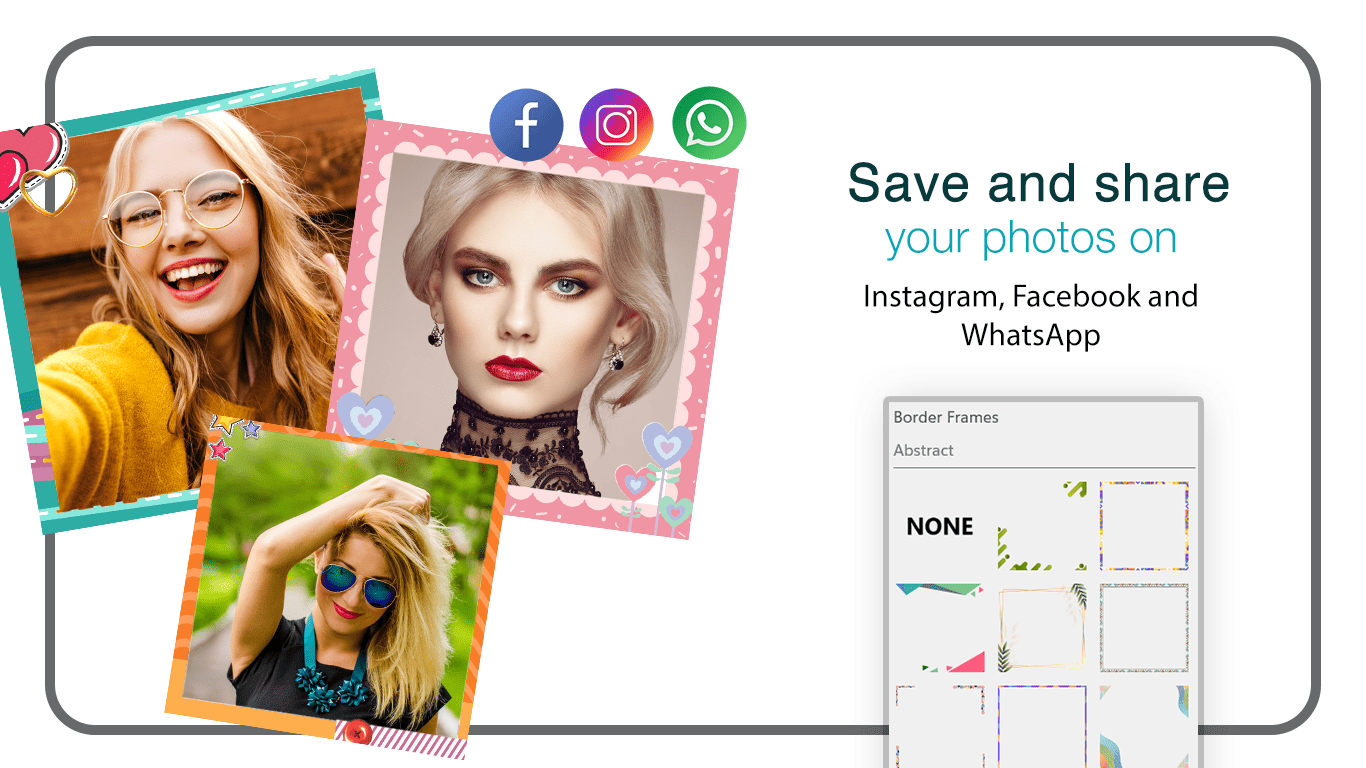
Design incredible photos with photo filters, stickers, and explore the lighter side of your images, sharing them seamlessly on Instagram, Facebook, LinkedIn, and more. The combination of stickers, emoticons, and filters adds an extra entertaining touch to personalize your images.
Save and share your memories effortlessly, creating beautiful photo collages adorned with decorative stickers for an extra festive touch.
Even if you have fantastic lighting at the office but lack a great front camera, our brilliant selfie filters have you covered. Capture the moment with attractive filters, turning any setting into the perfect backdrop for your selfies.
The app’s unique feature of taking photos on the spot with lovely overlays provides a quick option for those who prefer not to use pre-saved pictures. It’s the first choice upon launching the app, catering to anyone who needs instant pics at home, work, outdoors, and beyond.
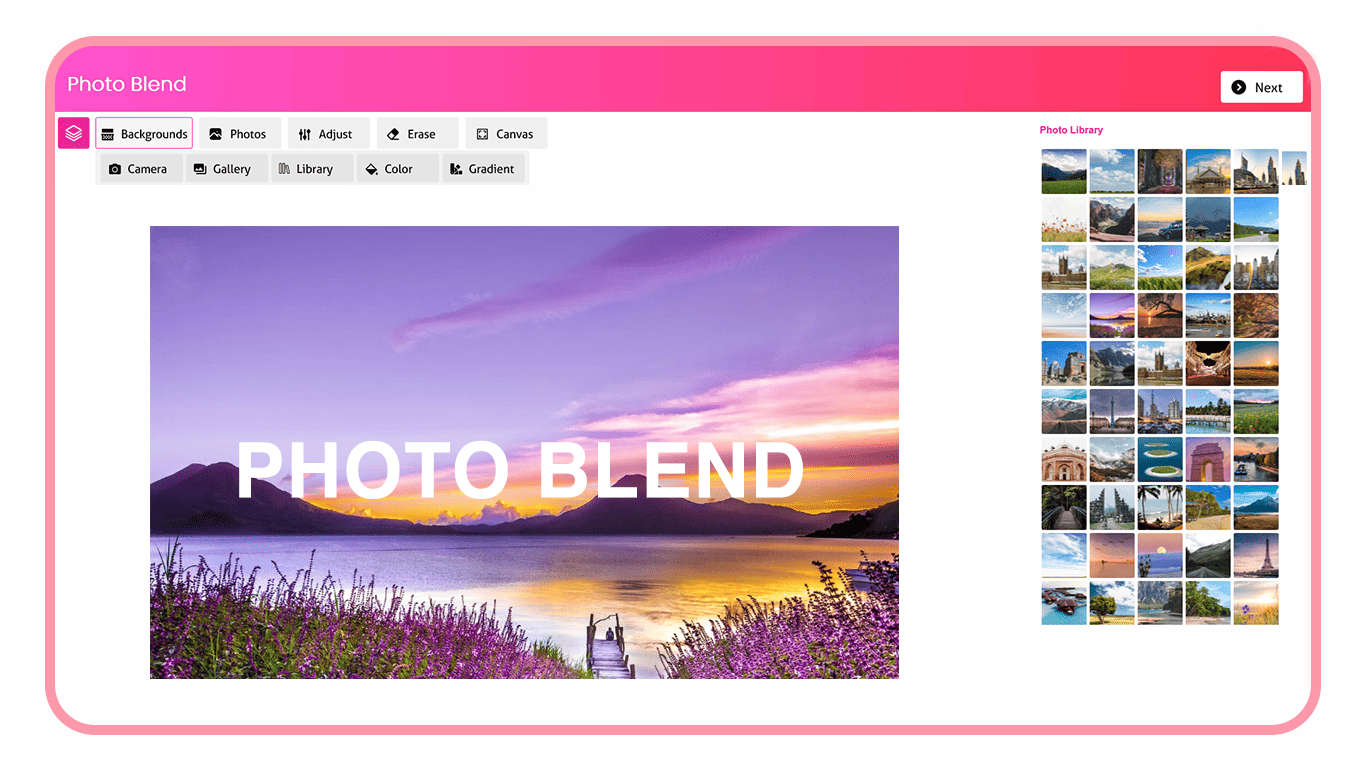
Select any image from your personal library and unleash your creativity with various filters, frames, stickers, effects, and more. Flip, rotate, or adjust as you wish, transforming simple pictures into gallery-worthy canvases with the right tools for customization and entertainment.
Launch the application on your device to create amazing photos using Face Camera Snappy Photo filters.
Now, you will see two options:
- Snappy Filter
- Photo Blender
Snappy Filter
Step 1: Choose an Image
Open Snippy Filter and select an image from your system.
Once the image is loaded:
Crop it or choose a social media crop ratio.
Flip or rotate the image if needed.
Click Crop to proceed to the next editing feature.
If you want to keep the original image without cropping, click Continue with Original Image to move on.
Step 2:- Apply Swag Style
Click Swag and select your favorite style for your photo.
To customize the text:
Change the Swag text style or color.
Change the main text color using the color picker.
Step 3: Add Text
Click Add Text to add a name or any text to your creation.
Customize your text by:
Changing the color
Selecting a font style
Adjusting opacity
Exploring other available text options
Step 4: Apply Effects
Click Effect and browse the available filter effects.
Try each effect one by one to see a live preview on your image.
Once you find an effect you like, click Apply to set it.
Step 5: Add Overlays
Click Overlay and choose your favorite overlay effect.
Adjust the intensity to get the desired look.
Step 6: Add a Frame
Click Frame and browse the available frames.
Frames are organized by category, so you can easily find your favorite style.
Select a frame and click Apply to add it to your creation.
Explore the new trending frames recently added for more options.
Step 7: Add Stickers and Save
Click Stickers to browse and add trending stickers to your creation.
Choose your favorite stickers and apply them to enhance your photo.
Once you’re finished, click Save to save your creation.
The app supports a wide range of formats, including JPG, PNG, MP4, BMP, GIF, and more.
Photo Blender
Step 1: Open Photo Blend
Click on Photo Blend from your applications or start menu to launch it.
Once opened, you’ll see the main workspace with all tools and features displayed at the top — such as Backgrounds, Photos, Adjust, Erase, Canvas, and more.
Step 2: Choose a Background
Click Backgrounds to select a background for your project.
You can browse built-in options, choose a solid color or gradient, or upload your own image from your computer.
Step 3: Add Photos
Click Photos to add images to your canvas.
Select images from your system, camera, or gallery.
You can then crop your image, flip it vertically or horizontally, and rotate it left or right as needed.
Erase or Remove Background
Click Erase to remove unwanted areas from your image.
Use the eraser tool carefully to keep only the parts you want visible.
This helps in creating smooth and seamless photo blends.
Change Canvas Size
Click Canvas to modify your canvas ratio.
From the Canvas Settings panel on the right, select preset sizes such as 1:1, 3:4, 4:5, 16:9, or customize your own to fit your project.
Preview and Continue
Click Next (at the top-right corner) once your layout is ready.
1. Adjust Settings
Click Adjust on the left panel to fine-tune your image.
You can modify the following controls:
Exposure: Adjusts the overall brightness of the image.
Temperature: Adds a warm (yellow) or cool (blue) tone.
Tint: Shifts colors toward green or magenta tones.
Contrast: Increases or decreases the difference between light and dark areas.
Saturation: Enhances or softens color intensity.
Click Clear all to reset all adjustments instantly.
2. Apply Filters
Select Filter to choose from a variety of photo effects.
Filters can instantly change your image’s mood or style with one click.
3. Add Overlays
Click Overlay to add textures, light effects, or shapes over your photo.
4. Borders and Add Text and Stickers
- Choose Border to frame your image with stylish outlines or patterns.
- Use Text to add captions, quotes, or titles. You can change font, color, and style.
- Add Stickers to decorate your photo with fun graphics and icons.
5. Save or Reset
Once your editing is complete:
Click Save (top-right corner) to save your edited photo.
Click Reset all to undo every change and start fresh.