Glass Photo Frame
Exciting News! Beautiful Glass Photo Frame is now a Universal Windows Application, ready to run seamlessly on your tablet, PC, laptop, and even your Windows phone! Transform your images into star-worthy creations by embedding them in exquisite Glass Photo Frames. Download now and let your photos shine!
Glass Photo Frame – Turn Your Photos into Art
Transform your everyday photos into stunning works of art with Glass Photo Frame, a versatile Windows app designed to add style and creativity to your images. Choose from beautiful glass-style frames, dynamic shattering effects, or playful cartoon filters to make every photo unique.
Enhance your images with filters, stickers, overlays, and text, or add extra photos for a modern PIP (Picture-in-Picture) look. With multiple export options including JPG, PNG, GIF, PDF, MP4, and more, sharing your creations is easy.
Key Features:
PIP Photo Editor: Add stylish frames, overlay images, text, and stickers.
Photo Shattering: Apply 2D, 3D, glitch, and glitter effects for dramatic visuals.
Cartoon Effects: Turn photos into creative, comic-style art with custom shapes and colors.
Complete Editing Tools: Adjust brightness, contrast, filters, blur, and more.
Flexible Export Options: Save in images, video, or GIF formats for sharing or keepsakes.
Why Glass Photo Frame?
Bring a professional, artistic touch to your photos in a few easy steps. Perfect for social media posts, personal projects, or simply making your memories stand out.
PIP Photo Editor
Step 1:- Open Your Photo
Open the Glass Photo Frame app on your Windows PC.
Click Add Photo or Open Image to select a picture from your computer.
Your photo will appear on the editing canvas.
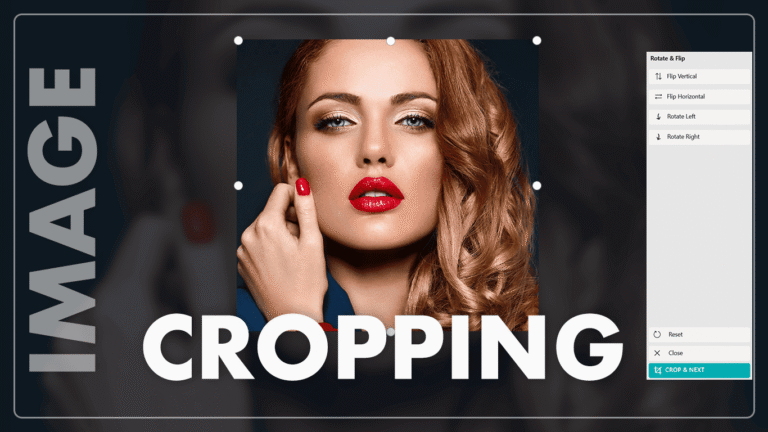
Step 2: Crop and Rotate
You’ll start on the Crop and Rotate screen. Here you can:
Adjust the Crop Box: Drag the white corner handles to choose the part of the image you want to keep.
Flip Vertical / Horizontal: Mirror your image with one click.
Rotate Left / Right: Turn your photo to the perfect angle.
Reset: Revert to the original version if needed.
When you’re happy with it, click Crop & Next in the bottom-right corner to continue.
Step 2:- Enhance Your Photo
After cropping, you’ll enter the main editing screen.
Click on Enhance to adjust your photo’s basic settings:
Brightness: Lighten or darken the image.
Contrast: Balance shadows and highlights.
Saturation: Make colors more vivid or muted.
Sharpen: Add clarity and detail.
Exposure: Adjust the overall light level.
Warmth: Give the image a warmer or cooler tone.
Use the sliders to fine-tune each setting until the photo looks just right.
Step 3:- Apply Filters
Click on Filters to instantly change your photo’s look and mood.
Browse through the available filter styles (vintage, cool, warm, black & white, etc.).
Click on a filter to apply it, and use the intensity slider (if available) to control the effect.
To remove a filter, select None or Reset.

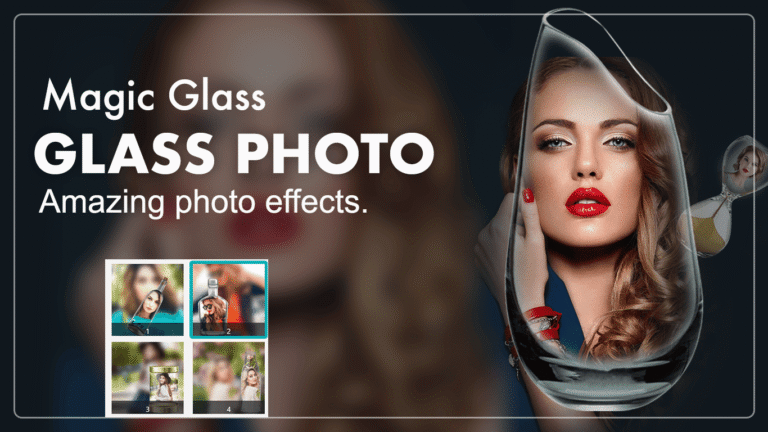
Step 4:- Add a PIP (Photo-in-Photo) Frame
Select PIP Frame to apply the signature glass or shape effect.
Choose a frame style (glass, heart, bottle, camera lens, and more) from the sidebar.
Your photo will automatically appear inside the selected frame.
Drag or resize the image inside the frame to adjust its position.
The background behind the frame will blur for a realistic depth effect.
Step 5:- Add Stickers
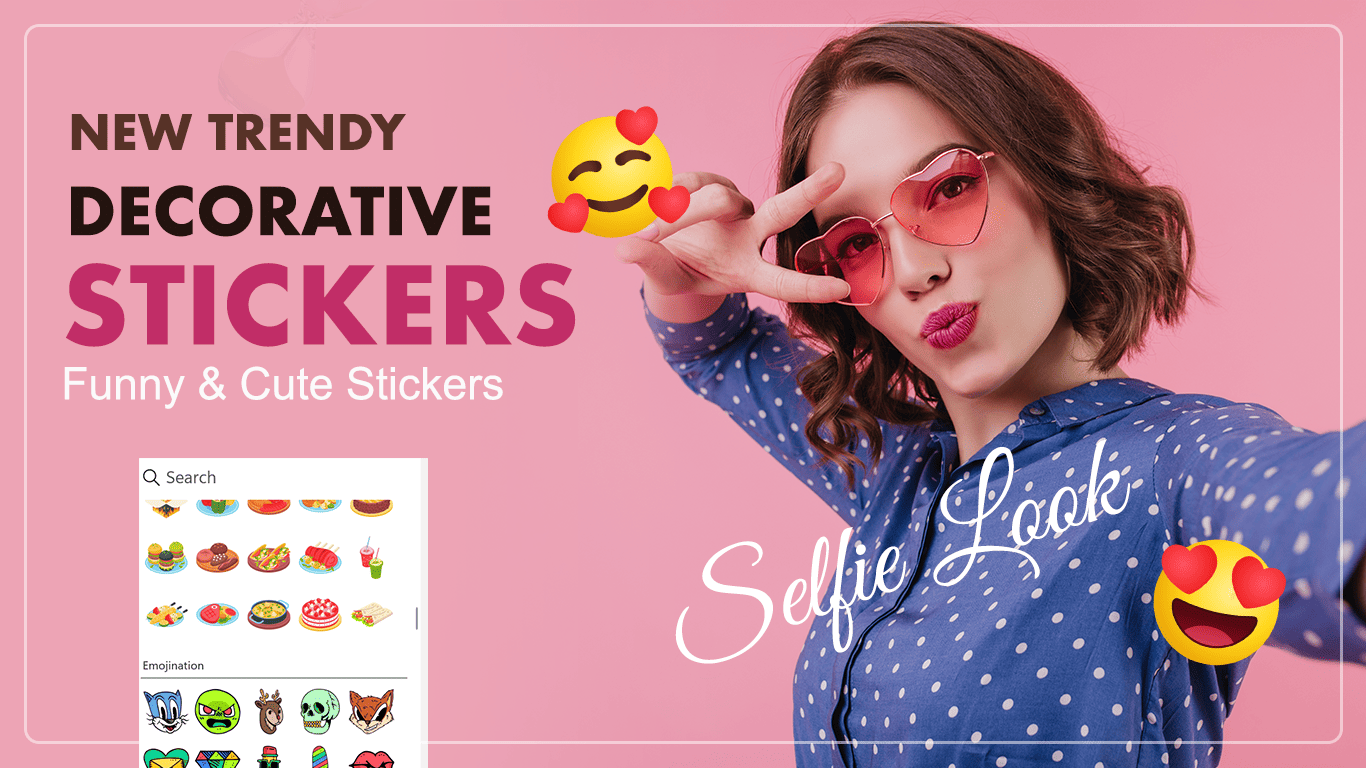
Click on Stickers to decorate your photo.
Browse through the sticker categories (emojis, shapes, icons, etc.).
Click to add a sticker to your photo.
Move, resize, or rotate it as needed.
To remove a sticker, select it and press Delete or click the remove icon.
Step 5: Add Text
Select Text to write on your image.
Click Add Text and type your caption, name, or quote.
Choose the font style, size, color, and alignment.
Drag the text box to place it where you want.
You can edit or delete it anytime.
Step 6:- Add Another Image
Click Add Image to add another photo as a sticker.
Step 7:- Save Your Creation
- Click the Save button to store your edited photo. The app supports multiple formats, including JPG, PNG, MP4, BMP, GIF, PDF, and more.
Or choose Share to post it directly on social media or send it through messaging apps.
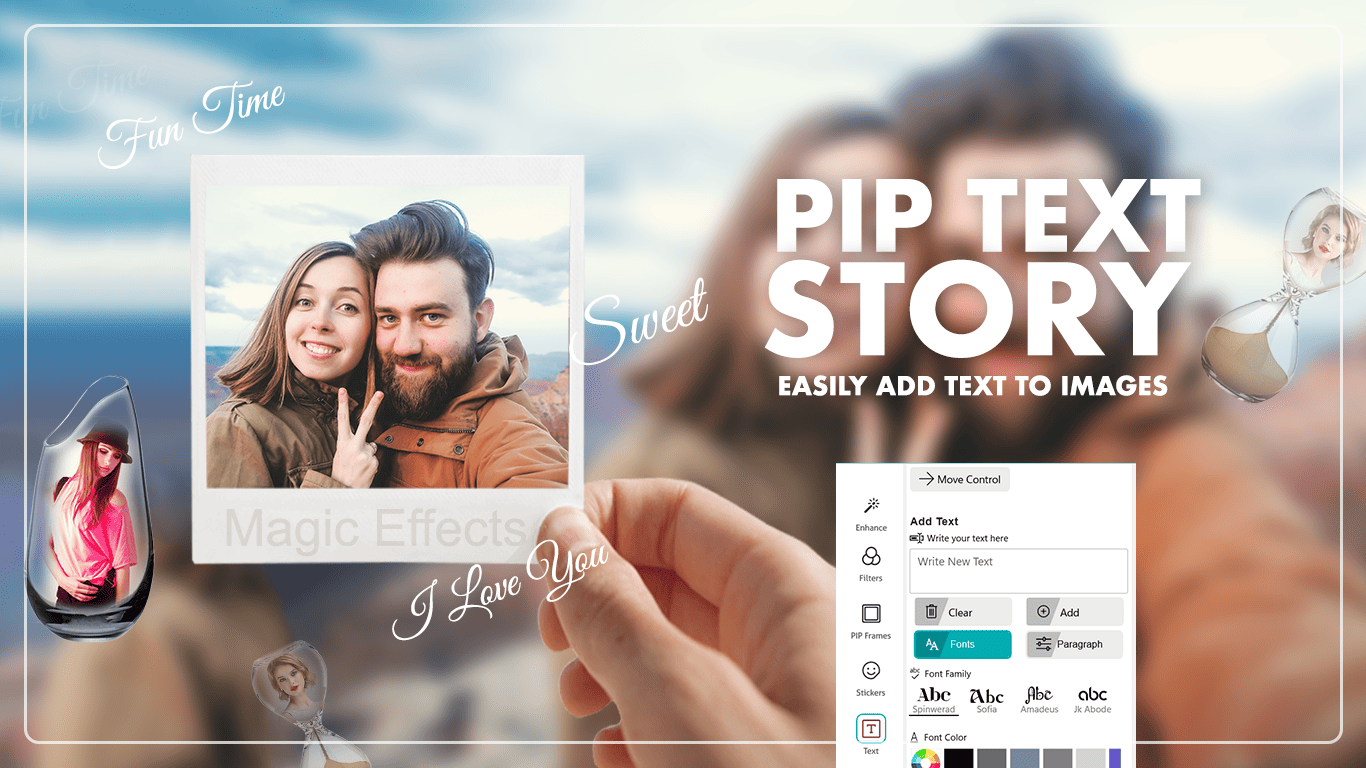
Photo Shattering
Step 1: Choose an Image
Open the Photo Shattering feature in the app.
Click Choose Image and select a photo from your computer.
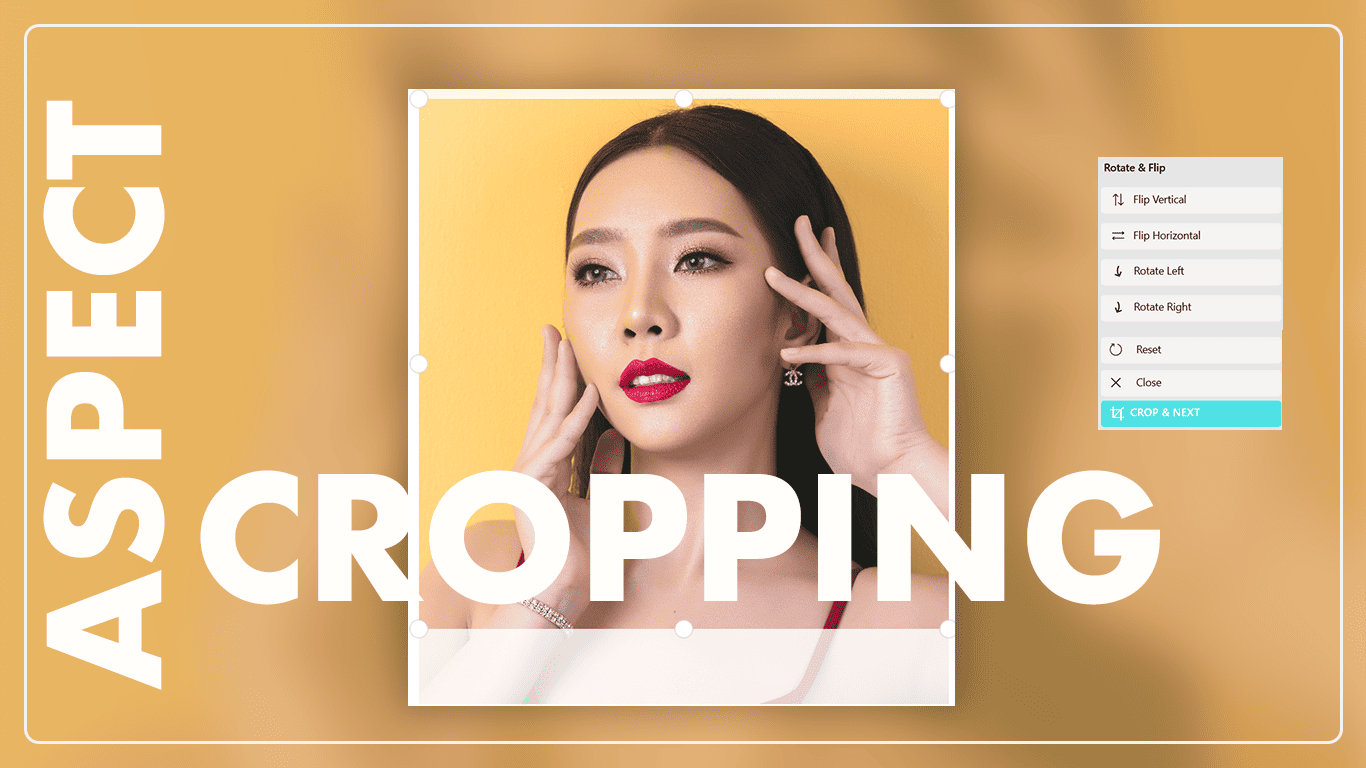
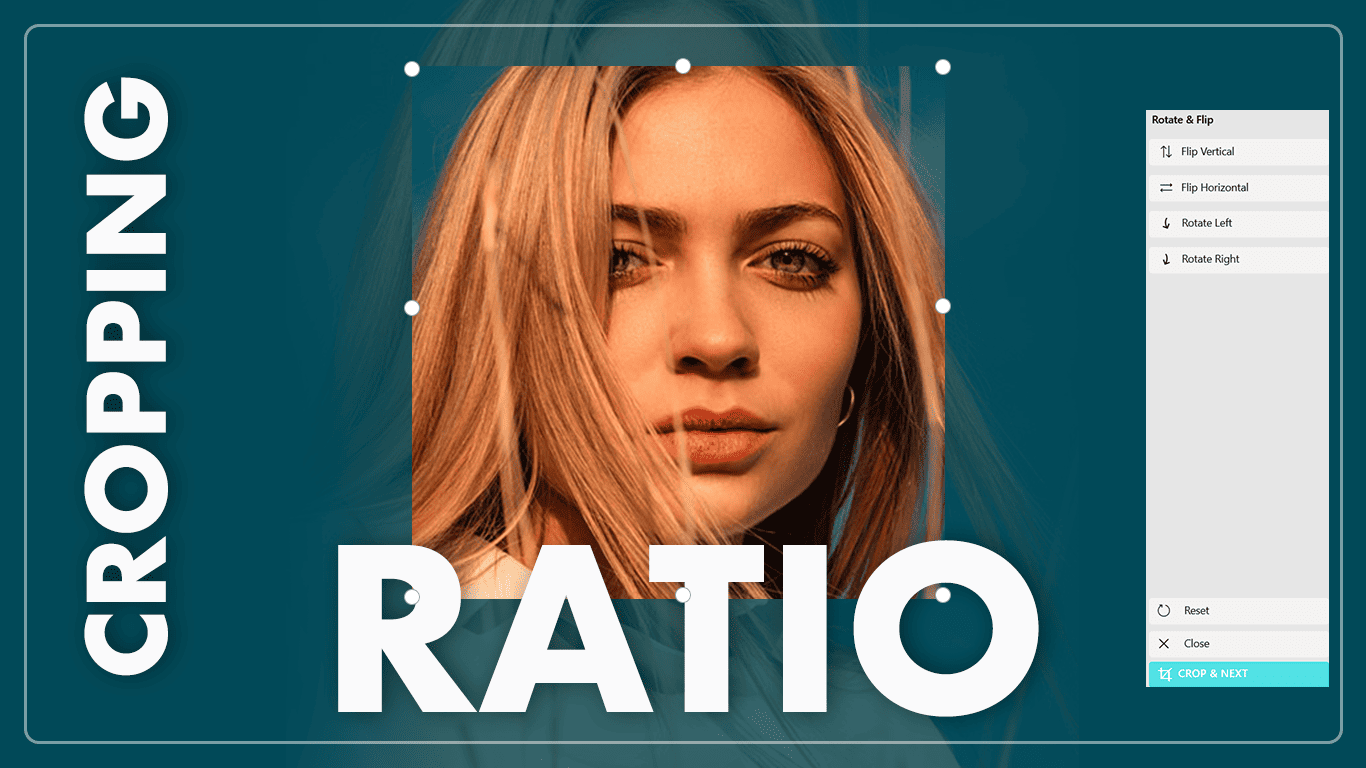
Step 2: Crop and Rotate
After selecting your image, you’ll start on the Crop and Rotate screen. Here you can:
Adjust the Crop Box: Drag the white corner handles to choose the part of the image you want to keep.
Flip Vertical / Horizontal: Mirror your image with one click.
Rotate Left / Right: Turn your photo to the perfect angle.
Reset: Revert to the original version if needed.
When you’re happy with it, click Crop & Next in the bottom-right corner to continue.
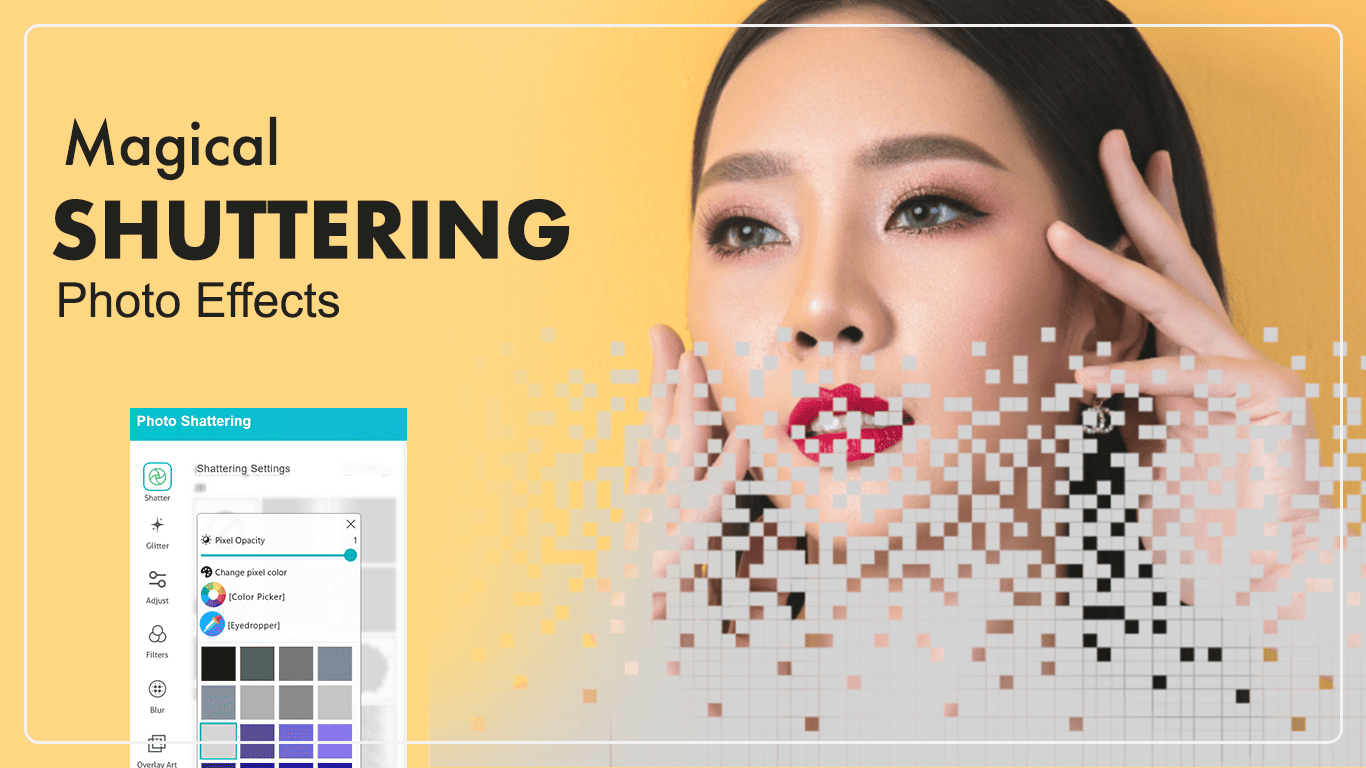
Step 3:- Apply Shattering Effects
Choose a Shattering Style
Select from creative shattering categories such as 2D, 3D, Shapes, Glitch Styles, Reels, and more.
Each option offers a different visual effect for your photo.
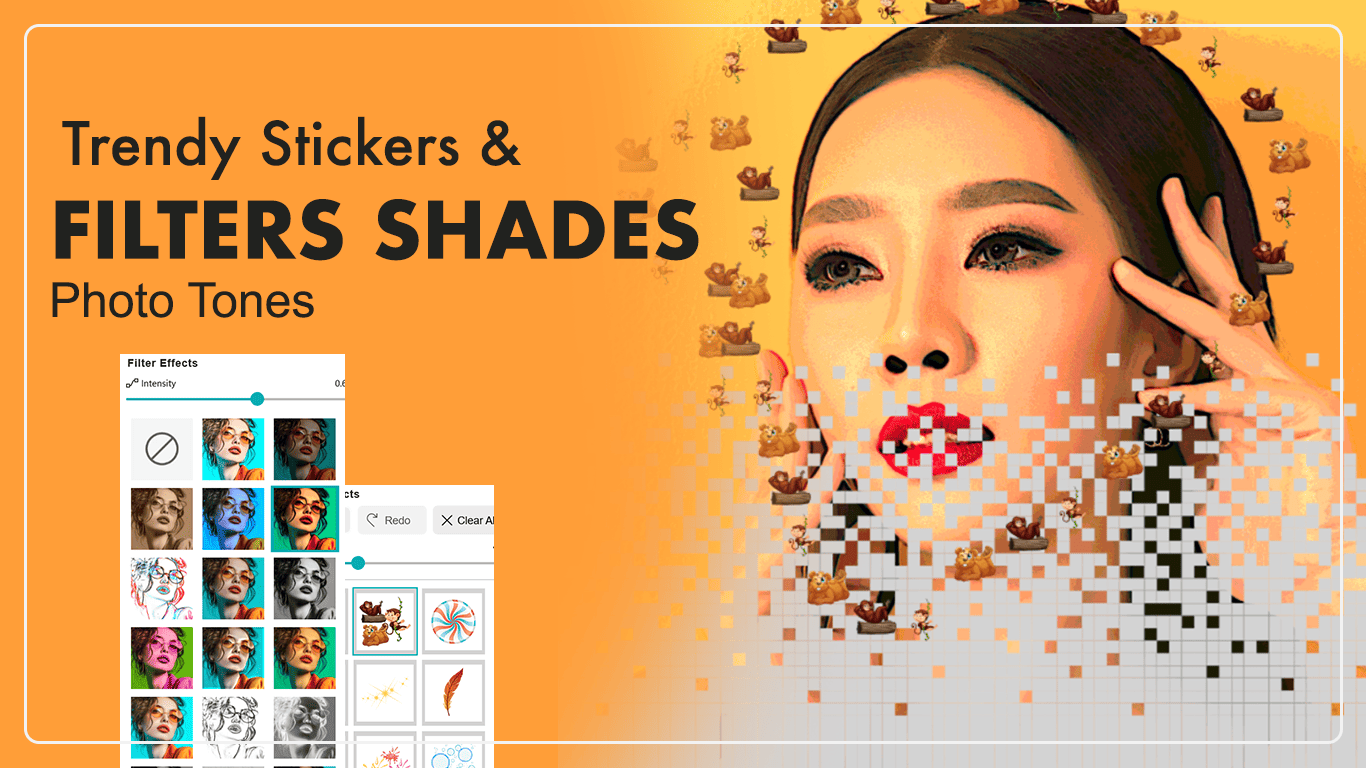
Step 4:-
Add Glitter Effects
Enhance your image by applying glitter effects for extra sparkle and a more dynamic look.
Adjust Image Settings
Fine-tune your photo’s appearance with adjustment tools:
Brightness – Lighten or darken the image.
Contrast – Balance highlights and shadows.
Blur – Add smoothness or depth.
Filters – Apply trending reel-style visual effects.
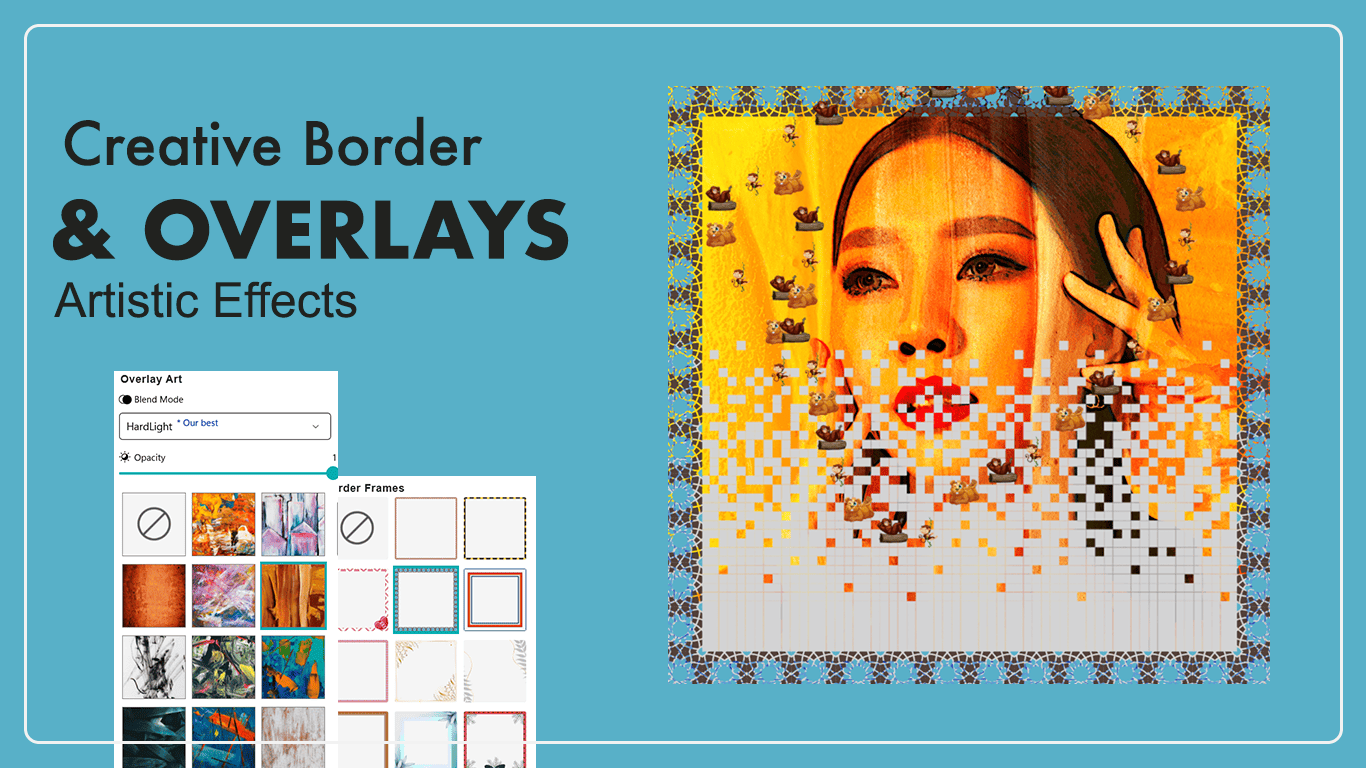
Step 5:- Apply Overlays and Art
Choose Overlays or Art Effects to add extra creative layers on top of your shattered photo.
You can adjust their transparency and position for a perfect blend.
Step 6:- Add Frames
Pick from a variety of Frames to give your image a finished, polished border that complements the shatter effect.
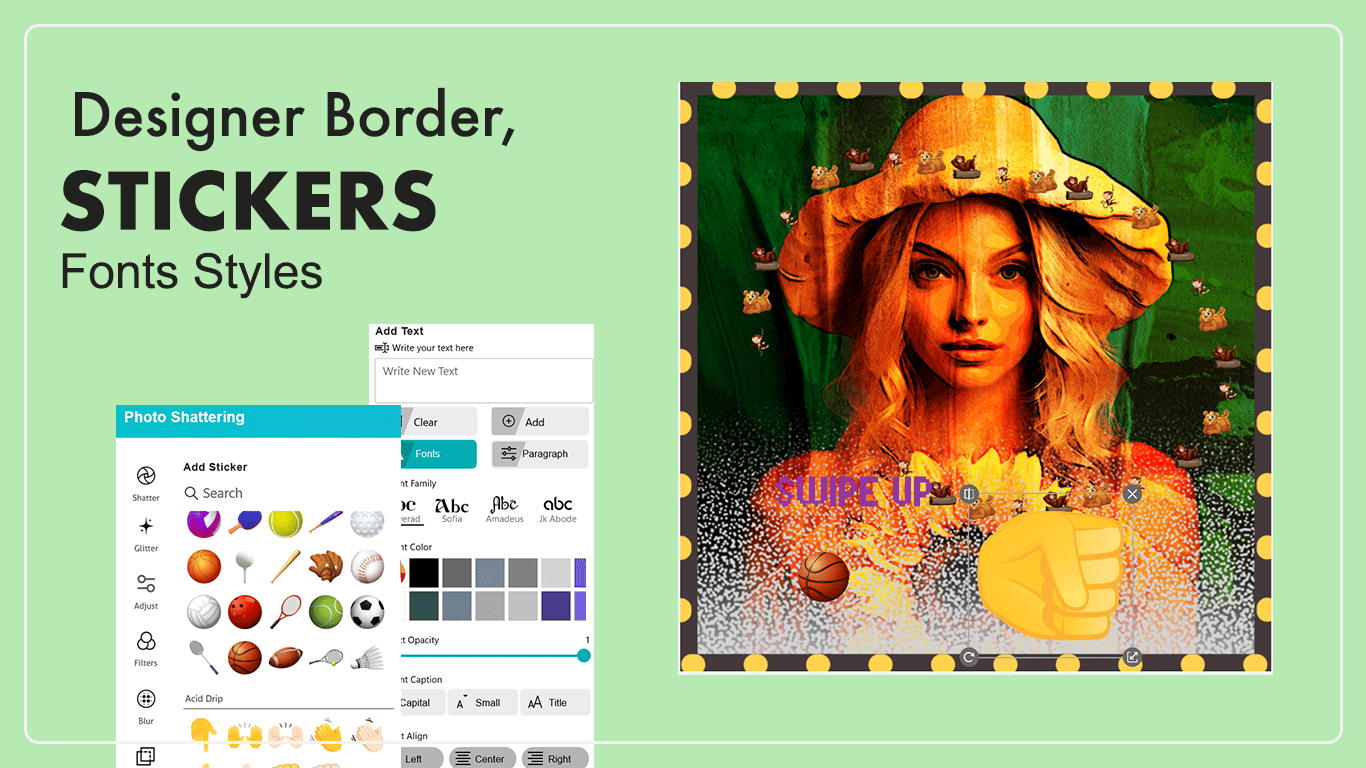
Step 6:- Add Text
Click Add Text to include names, captions, or short quotes.
You can change the font, size, color, and position to match your design.
Step 7:- Add Stickers
Use Stickers to decorate your photo with fun icons, emojis, or themed graphics.
Drag to move them, pinch to resize, or rotate them as needed.
Step 8:- Save Your Creation
Once your design is ready, click the Save button.
You can export your creation in JPG, PNG, GIF, PDF, MP4, and other supported formats.
Cartoon Effects
Step 1: Choose an Image
Click on the Cartoon Effects button.
Select an image from your system gallery or files.
Step 2: Crop and Rotate
After selecting your image, you’ll start on the Crop and Rotate screen. Here you can:
Adjust the Crop Box: Drag the white corner handles to choose the part of the image you want to keep.
Flip Vertical / Horizontal: Mirror your image with one click.
Rotate Left / Right: Turn your photo to the perfect angle.
Reset: Revert to the original version if needed.
When you’re happy with your crop, click Crop & Next in the bottom-right corner to continue.
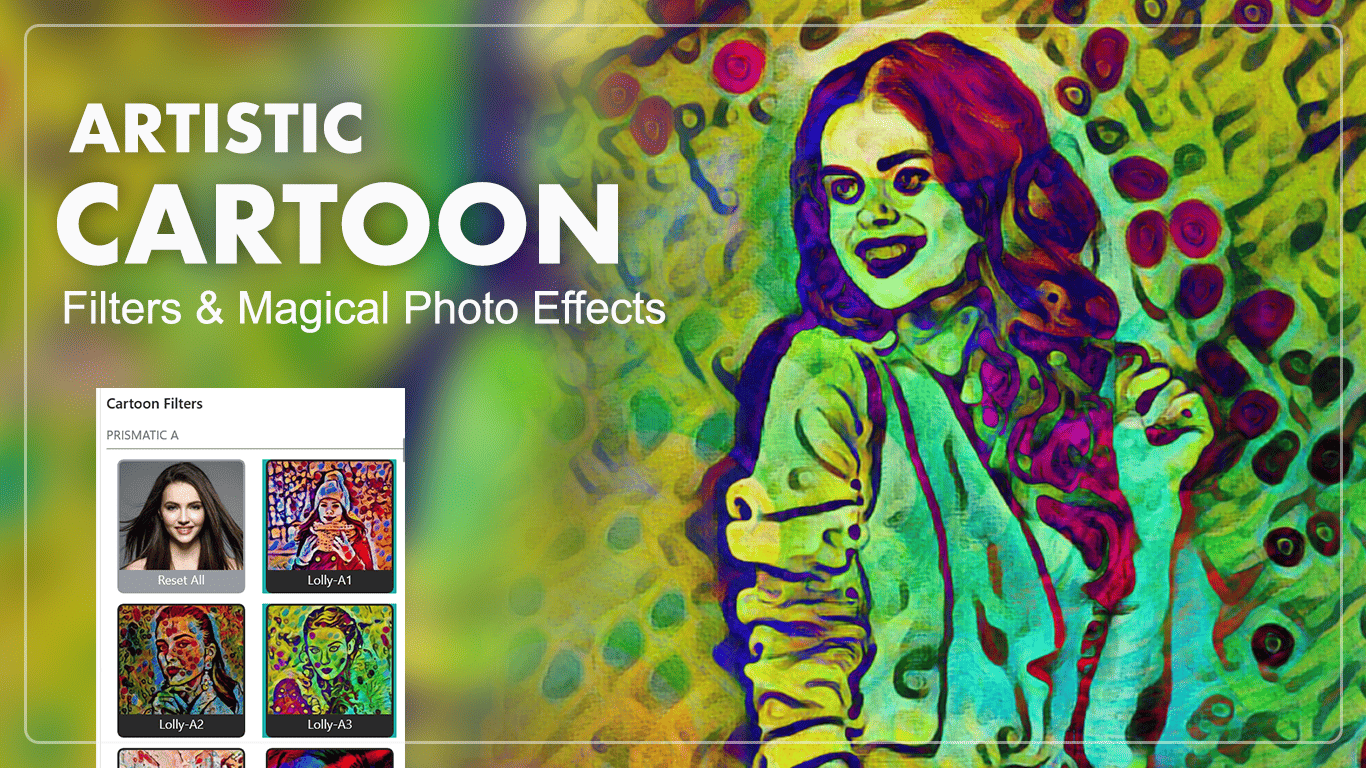
Step 3: Apply Cartoon Effects
Transform your photo into a cartoon using a wide variety of Cartoon Effects.
Browse through the available styles and choose the one that best fits your image.
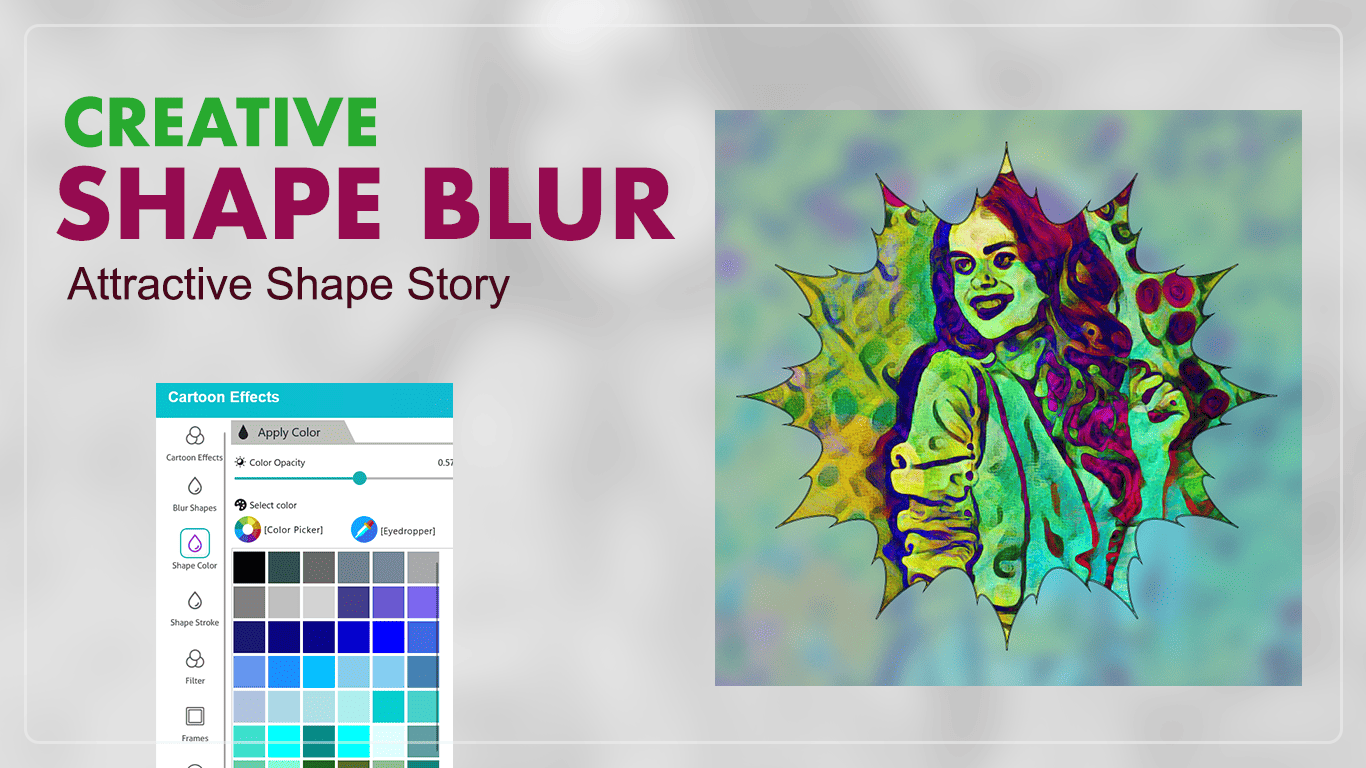
Step 4: Add Shapes and Colors
Enhance your design by adding blue shapes, changing shape colors, and adjusting shape strokes for creative outlines.
Step 5:- Apply Filters and Frames
Use Filters to adjust the mood or tone of your image, and add Frames to give your cartoon photo a finished look.
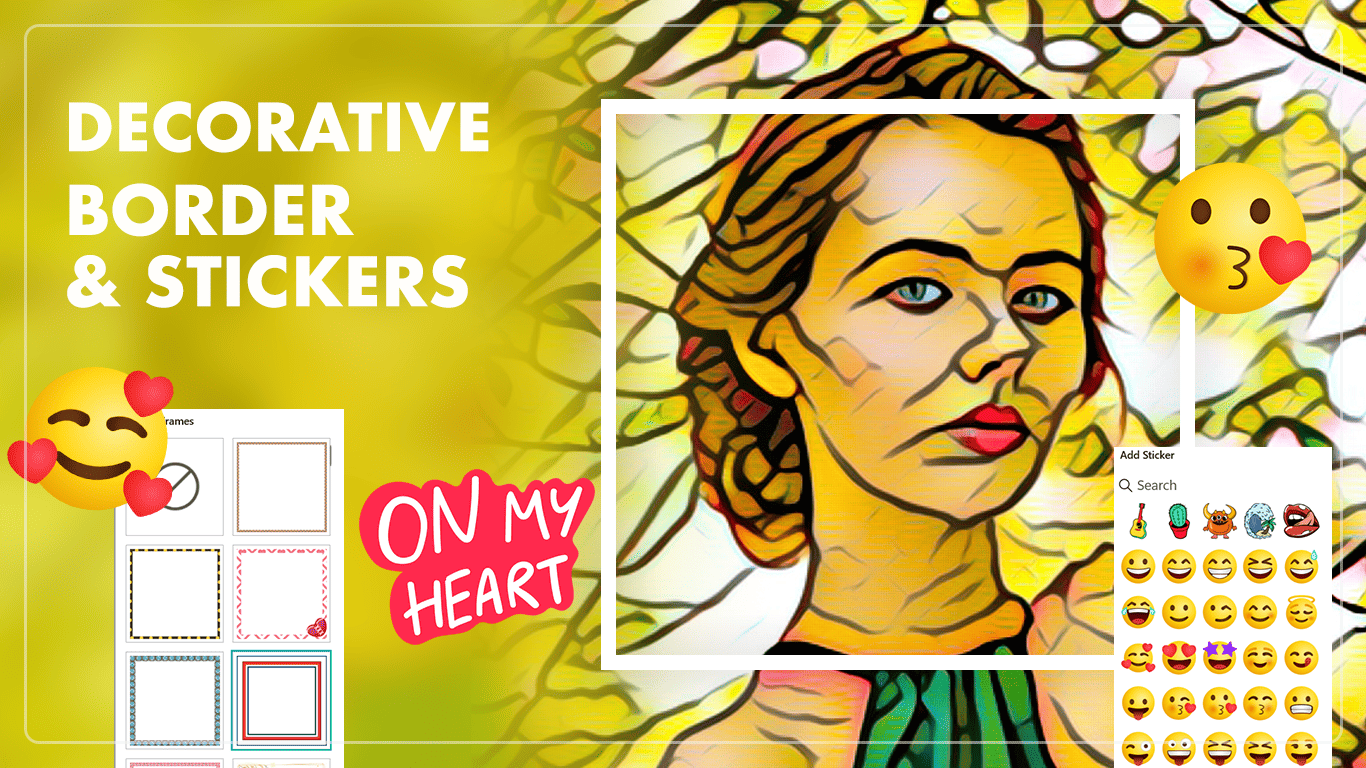
Step 6:- Add Stickers, Text, and Overlays
Personalize your cartoon by:
Adding Stickers for fun decoration.
Including Text for captions, names, or quotes.
Applying Overlays to create artistic layers or textures.
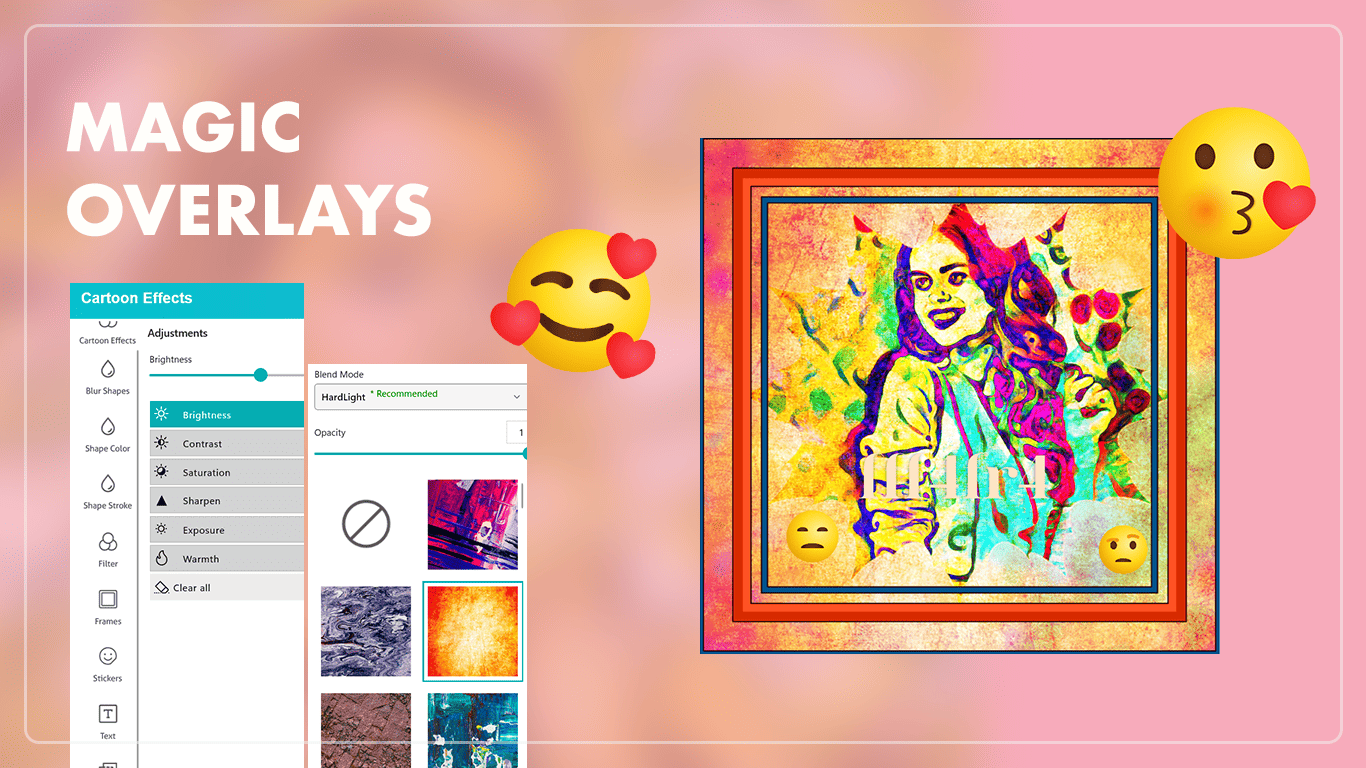
Step 7: Make Adjustments
Fine-tune your photo using Brightness, Contrast, Saturation, and other adjustment tools to perfect the look.
Step 8: Save Your Creation
Once your cartoon image is ready, click Save.
You can export your creation in multiple formats, including JPG, PNG, GIF, PDF, MP4, and more.


