Whether you’re crafting YouTube videos or working on school projects, video editing can be a challenging task. However, we’re introducing a game-changing solution with ‘Video Photo SlideShow.’ Say goodbye to hours of tedious work—now you can transform your videos in minutes, making the process not only efficient but also enjoyable.
Explore the next level of video editing with magical transitions and captivating slideshow effects. Bring your imagination to life and turn your creations into memorable pieces of art with just a few clicks.
With ‘Video Photo SlideShow,’ you can:
- Customize your videos with 8 themes, adjusting text color and font size.
- Easily attach pre-installed music clips or choose from multi-music support with custom time durations.
- Enhance your videos with stickers, images, and themes.
- Apply video filters, including sepia, mirror, negative, and choose from 15+ filters.
- Split, trim, and copy video clips, and even merge other videos seamlessly.
- Organize and present your pictures creatively with the slideshow movie maker.
- Set custom effects on trimmed parts of the clip.
Creating stunning videos for your social platforms is easy. Just follow these simple steps:
Step 1:- Open ‘Video Photo SlideShow‘ on your PC or Laptop.
Upon opening the app, you’ll find the ‘slideshow’ option in the first row on your screen. Click on that option to start your video editing journey.

Step 2:- Choose Pictures for Your Slideshow
- Select the images from your device that you want to include in your slideshow. Simply browse through your gallery and pick the pictures that will bring your story to life.

Step 3:- Choose Your Transitions
Click on the “Transition” option located at the bottom of your screen. Explore and select your preferred transition style for your slideshow. This step allows you to add a touch of creativity and smooth flow between your chosen pictures.

Step 4:- Record and Arrange Your Slideshow
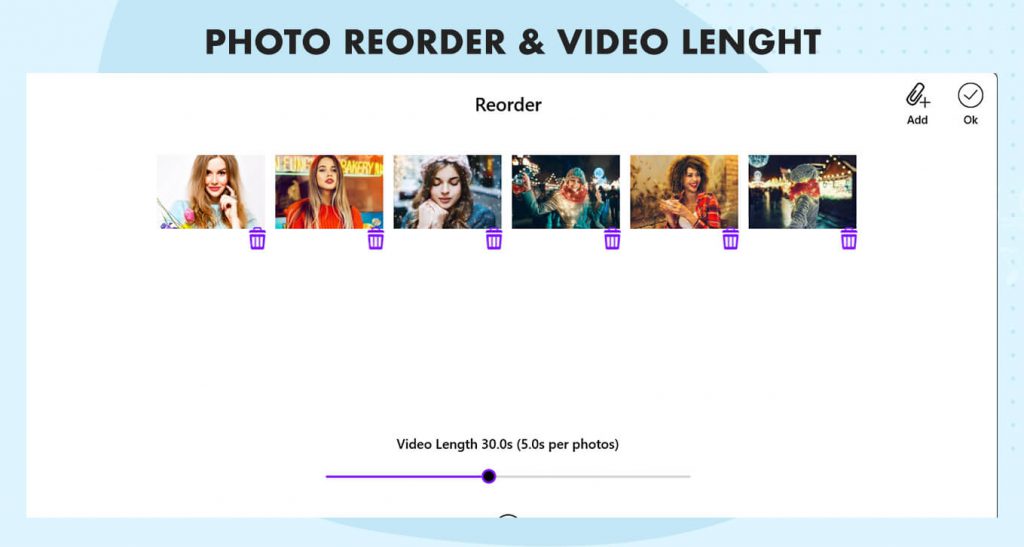
Click on the record button to capture and arrange your slideshow photos. This step empowers you to sequence your chosen images, ensuring a seamless and engaging visual story. Simply press record and arrange your pictures to your liking.

Step 5:- Apply Effects to Your Slideshow
Click on the “Effect” option located at the bottom of your screen. Choose your desired effect to add a creative touch to your slideshow. Experiment with various effects to enhance the visual appeal of your presentation.

Step 6:- Add Music to Your Slideshow
Click on the “Music” option at the bottom of your screen. Explore and select your preferred music to accompany your slideshow. This step allows you to set the mood and enhance the overall experience of your presentation. Choose the perfect soundtrack to complement your visual story.

Step 7:- Enhance with Stickers
Click on the “Sticker” option located at the bottom of your screen. Choose your desired stickers to add a playful or informative element to your slideshow. This step lets you personalize your presentation further and make it uniquely yours. Explore the sticker options and select those that best suit the theme or mood of your slideshow.

Step 8:- Add Text and Save Your Slideshow
Click on the “Text” option at the bottom of your screen to include your desired text in your slideshow. This step allows you to convey messages, captions, or titles to enhance the storytelling aspect of your presentation.
Once you are satisfied with your slideshow, click on the “Save” option to save your creation on your device. Ensure your masterpiece is preserved for sharing and future enjoyment.


