Photo Blender Camera emerges as a simple yet powerful editing app. With its capabilities, you can seamlessly blend two images with perfect synchronization, setting yourself apart in the crowded social media landscape.
With the constant influx of Instagram and Facebook posts, the need for a quick and reliable photo editor is ever-present. In the sea of Instagram influencers and reel makers, standing out is crucial. Enter Photo Blender Camera, a simple yet powerful editing app that allows you to seamlessly blend two images with perfect synchronization.
Create mesmerizing magical blend effects by blending any two of your photos into a single, fantastic composition. The app overlays a transparent image on another photo from your gallery or camera, offering a unique touch. Utilize the selfie camera with one-tap photo effects or choose an image from your gallery for extensive editing options, including flip, rotate, filters, text addition, emojis, and more. Enhance your images with funny face masks and catchy taglines for a unique and classy touch.
Our custom blend feature is fully loaded, enabling you to select two images of your choice and adjust the opacity of each independently. Crop images according to desired ratios for a personalized touch.
Explore multiple backgrounds that add a classy and artistic look to your images, and apply unique filters to further enhance your creations. Keep your memories alive by adding text to your images.
Step 1:-
To get started, simply launch Photo Blender Camera on your system and click on the camera button to capture foreground and background photos seamlessly.
Now, tap on the “Background” option and explore a wide range of backgrounds. Unleash the power of the blender camera with numerous amazing tools to edit your photos.
Click on the camera icon and capture a photo using your device’s camera. Once selected, proceed to crop and flip your image. After you’re done, click on the “Done” button and move to the next editing feature.
Step 2:- Explore a myriad of amazing tools for photo editing using the blender camera:
Click on the “Scale” button to adjust the size of your photo.
Utilize the “Rotate” button to rotate your photo as desired.
Enhance your photo with your favorite blur by clicking on the “Side Blur” button.
Fine-tune the size of your photo using the “Adjust” button.
Apply opacity to your photo by clicking on the “Opacity” button.
Step 3:- Having completed the previous steps, you now have access to a set of professional editing tools. Tap on the Crop icon and select a default social media aspect cropping ratio, or easily choose your favorite aspect ratio.
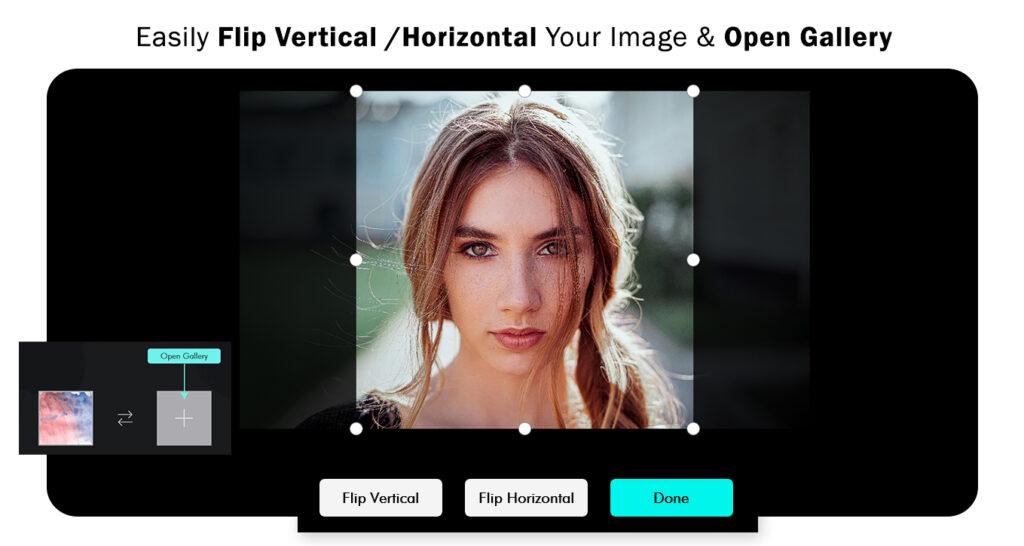
Step 4:- Select the Orientation option to rotate and flip your photo as needed.
Step 5:- Tap on the Enhance icon to adjust brightness, contrast, saturation, and sharpen your photo.
Step 6:- Select the Effect button to apply amazing filter effects to enhance your photo.
Step 7:- Click on the Overlay button to incorporate dazzling overlay effects into your photo.
Step 8:-
Click on the Border button to add a border to your creation. Choose the frame layout you want from a wide variety of frames.
Click on the “Add Stickers” icon, which will present you with various options to choose from. Select the sticker you wish to apply directly to the image, enhancing the magnificence of the collage.
Step 9:-
Click on the Text button to add text to your creation. You can choose the text color and font style, change the text background color, add a shadow, adjust text spacing, and create a caption for your masterpiece.
Click on the Doodle button to draw your doodle. Adjust the brush size and choose the doodle color according to your preference.
Step 10:-
Click on the Save button to save your art in your gallery and share it with friends on social media.